Spring into Making Easy Easter Crafts

There’s nothing quite like the beauty of spring – new hope, new possibilities and new life, and we love celebrating all these wonderful things whilst also enjoying the Easter season with loved ones! This year, we’re sharing a few ways you could bring the magic of spring to your interior decorations this Easter.
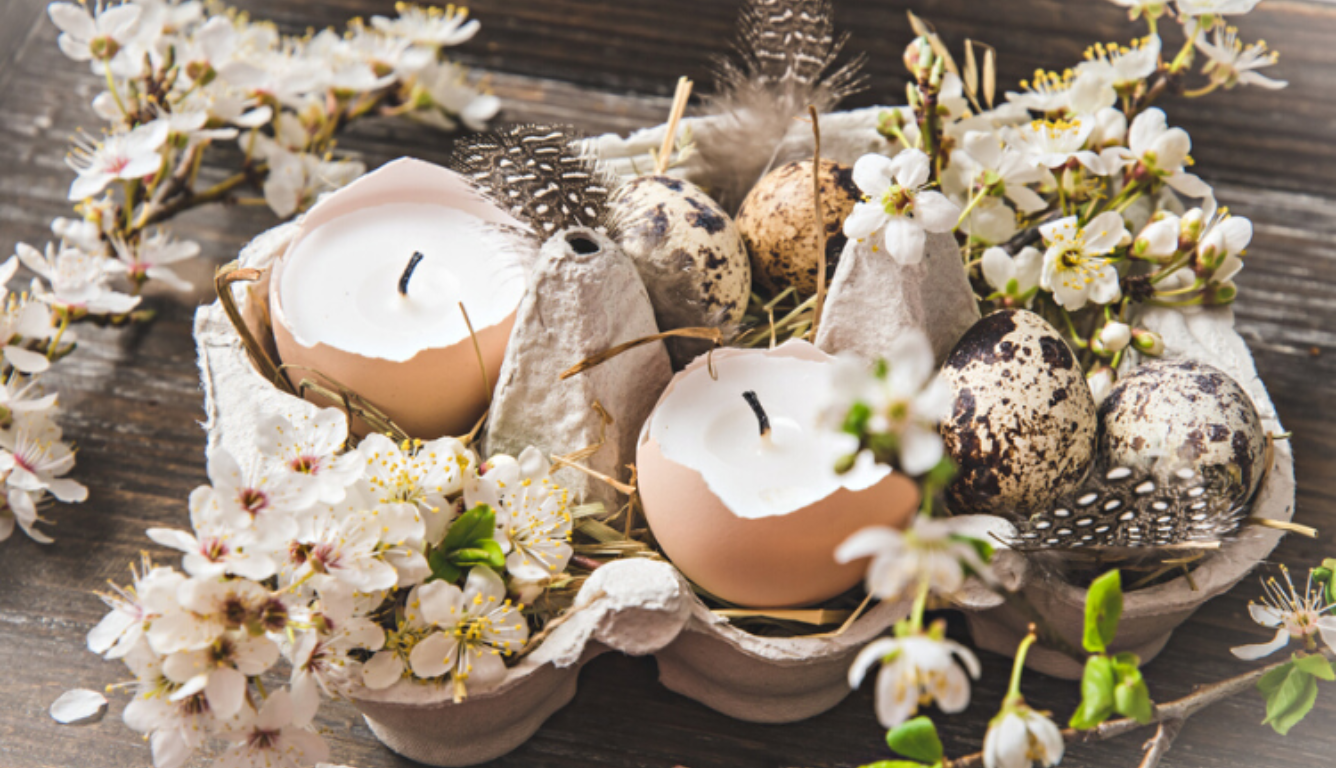
Egg tea lights

You’ll need
- Eggshells – empty and boiled for a few minutes to ensure they’re clean
- Egg carton
- Tabbed candle wicks
- Glue gun
- Scissors
- Wax flakes
- A pan (this will get wax on, so an old one is best)
- Any decorations you’d like to include
Method
Step 1: Place your clean wax shells into alternate holes in the egg carton. Using the glue gun, carefully stick the candle wicks into the base of each shell. Trim any excess wick with scissors.
Step 2: Melt the wax flakes in the pan and allow to cool very slightly so that it doesn’t crack the eggshell. Carefully pour into each shell about the wick, up to around halfway up. Allow to set completely.
Step 3: Decorate the egg spaces with seasonal items such as spring flowers, empty quail eggs or craft eggs, pine cones etc.
This can now be placed on your mantelpiece or as a centrepiece at your Easter table.
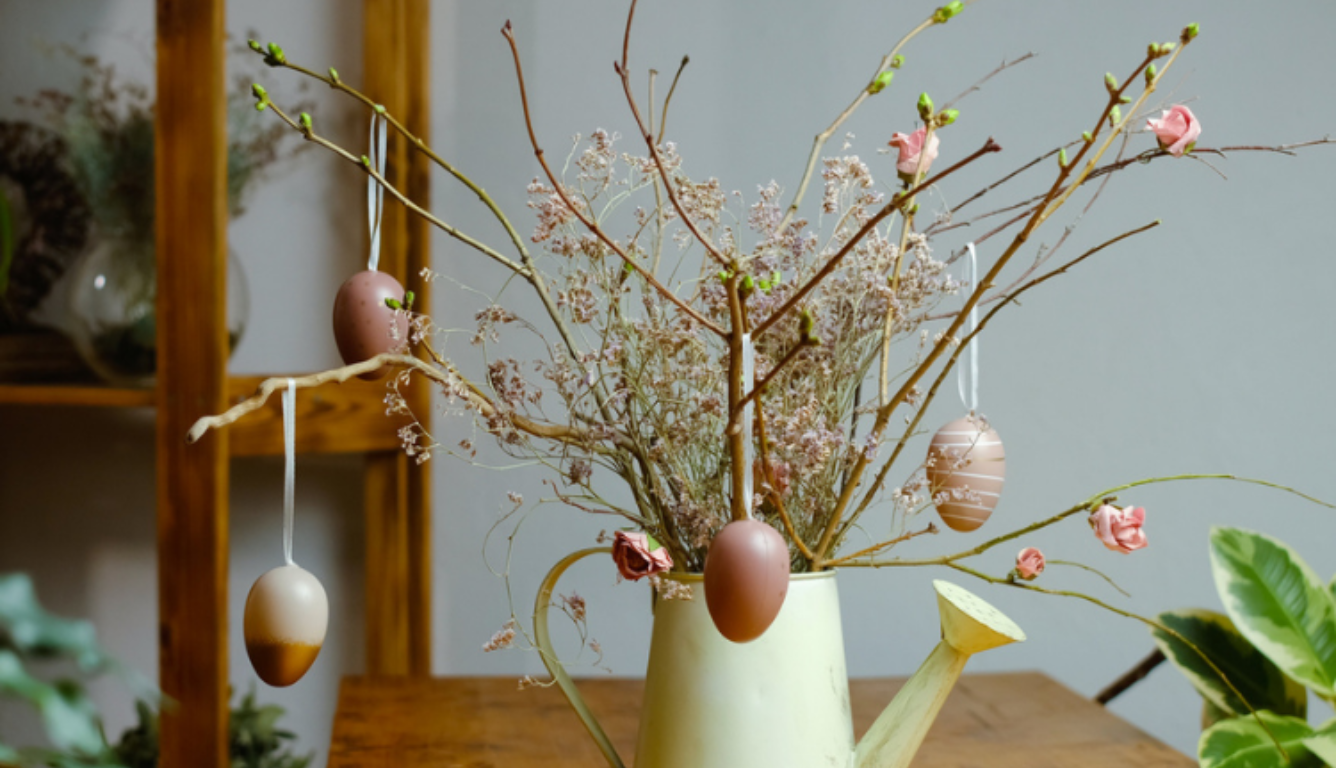
Easter tree

You’ll need
- Metal pitcher
- Small branches from budding trees, or fallen twigs
- Foliage
- Eggs – you can either decorate your own shells or purchase eggs from a bargain/craft shop
- Glue gun
- Ribbon
Method
Step 1: Add your branches to the pitcher and decorate around the base with foliage.
Step 2: Cut the ribbon into 15cm strips, fold in half and, using the glue gun, carefully fix the two cut ends to the top of the decorated/craft egg. Allow to set completely.
Hang the eggs around your branches and place on your window sill for all to enjoy.
Bunny napkins

You’ll need
- Cloth napkin
- Gypsophila
- Twine
- Decorated egg
Method
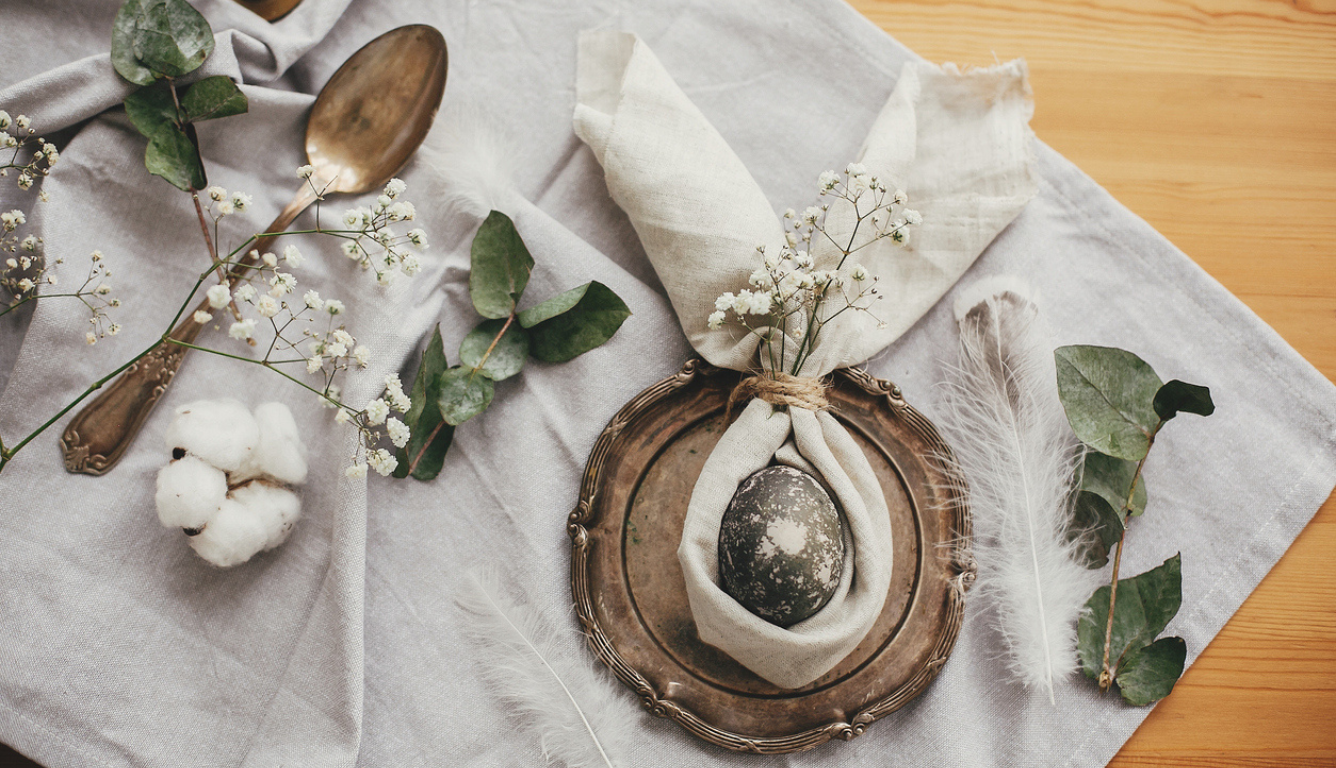
Step 1: Roll your napkin lengthways to make a loose cylinder shape.
Step 2: Wrap this around the decorated egg and pull the ends together around the top. Place a sprig of gypsophila between the join and then tie with twine.
Step 3: Loosen the ends of the napkin slightly to make them a little more open at the top.
Invite some friends or family members round for an Easter feast, and place these at the side of each of the place settings. Remember, the egg isn’t tied securely so be very careful when moving it.
Spring wreath

We promised you some tutorials for easy Easter crafts, but if you’re feeling a little more adventurous, you could make your very own spring-themed wreath. Follow our Wreath Tutorial, from popular Not on the High Street wreath maker, Pippa Designs. The tutorial is themed around Christmas, but with a few simple tweaks and decoration changes, you can make a beautiful spring door showstopper.
Sign up for our newsletter
Sign up for our newsletter to hear about our exciting new collections, interior trends, wellbeing advice as well as exclusive offers.


